The Snack That Tastes Like Dessert (But Isn’t)
Some afternoons, the craving hits like a wave: something sweet, something chocolatey, something you can grab with one hand while answering emails or breaking up a sibling squabble in the kitchen. The vending machine calls. The cookie jar whispers. And most of the options within arm’s reach are loaded with refined sugar, mystery oils, and ingredient lists that read like a chemistry exam.
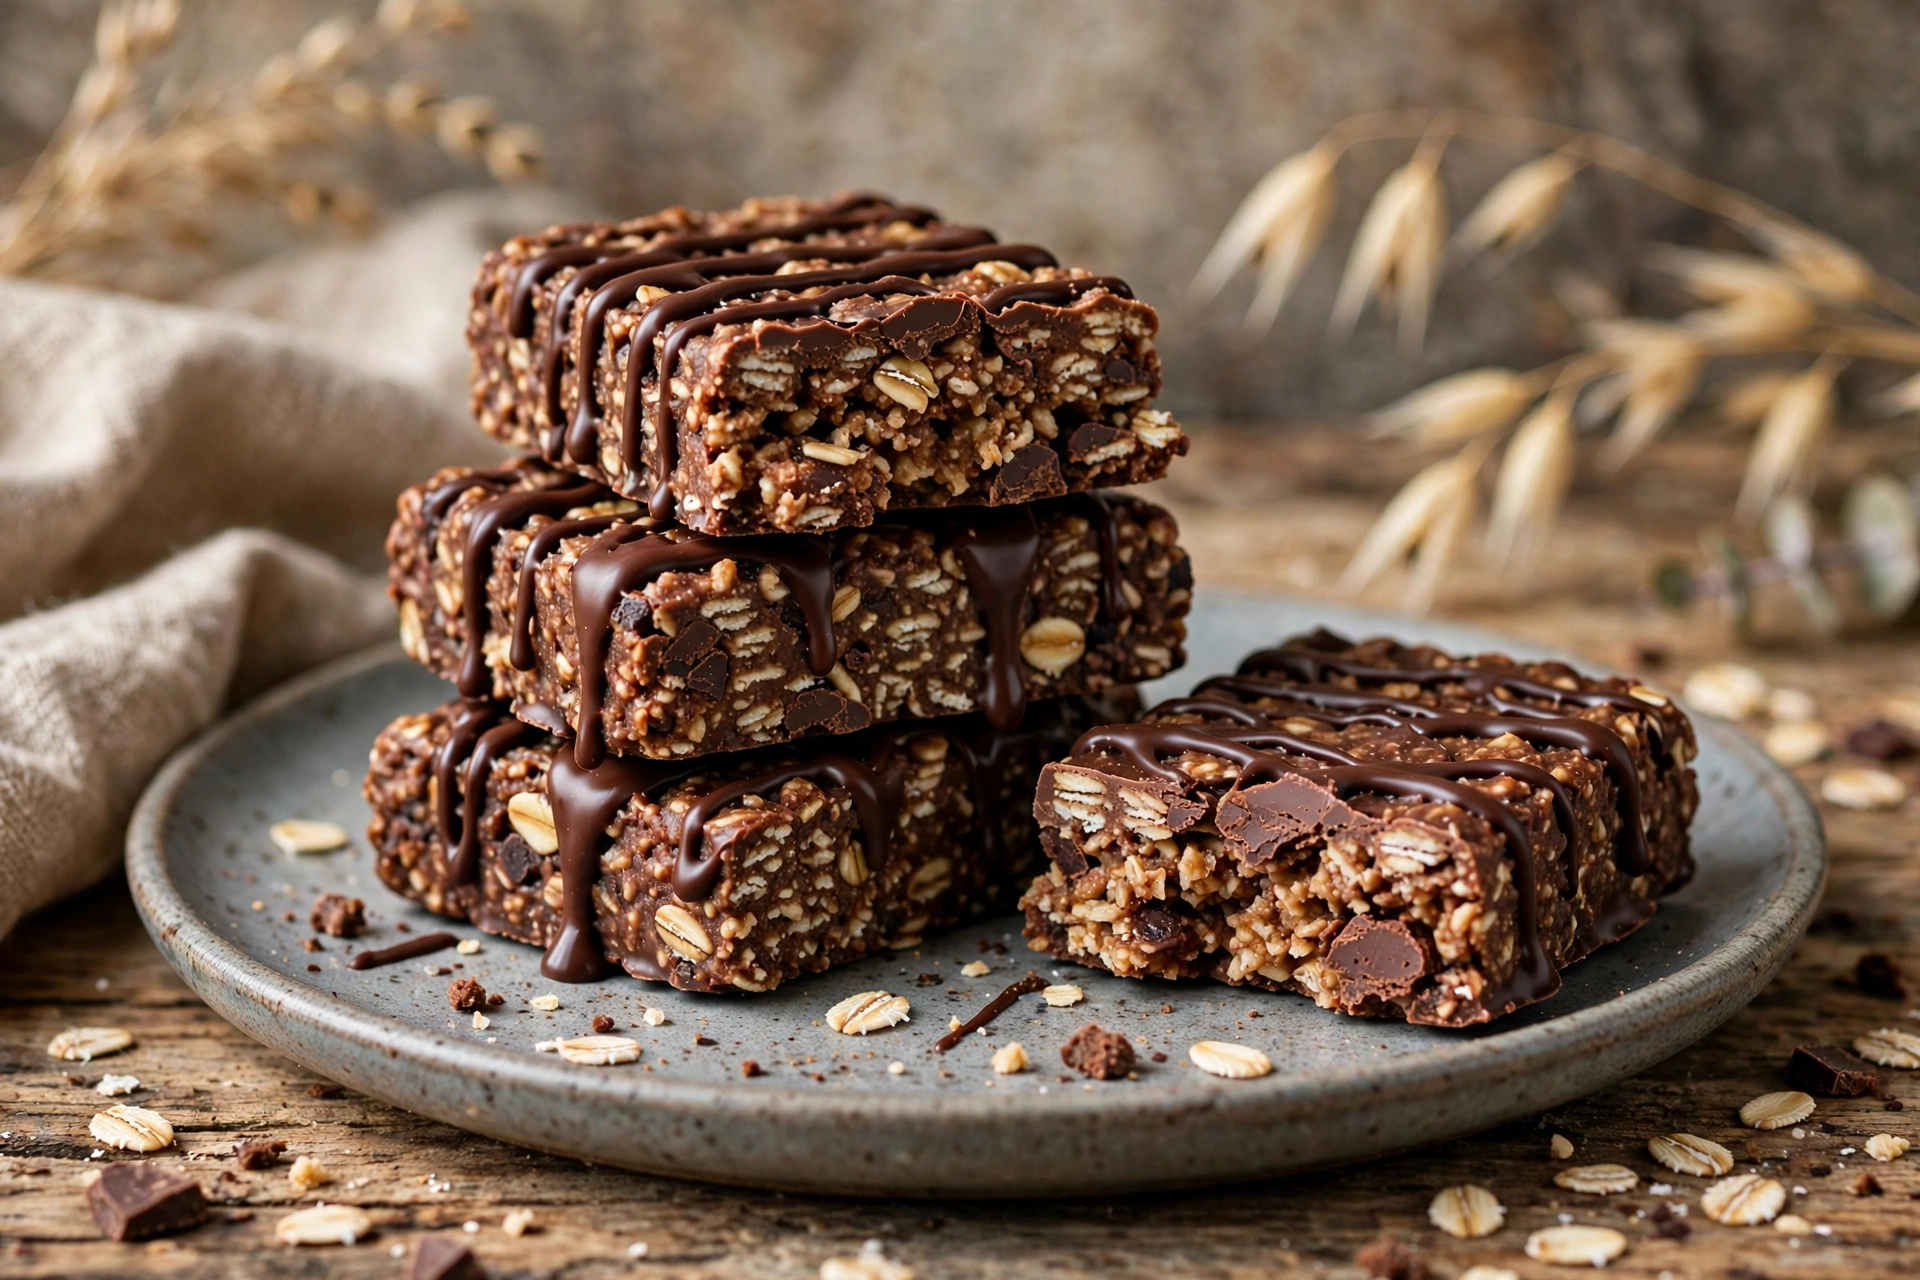
That’s exactly why these chocolate oat bars exist. They were born on one of those chaotic Tuesday afternoons when I wanted a treat that would actually satisfy me instead of sending my energy on a rollercoaster. One bowl, a handful of pantry staples, zero baking — and out came a tray of thick, chewy, deeply chocolatey bars that taste like a cross between a cookie and a candy bar, yet are built on rolled oats, natural peanut butter, and real dark chocolate.
What makes these chocolate oat bars so special is their texture. The base is dense and chewy with the hearty bite of oats, held together by creamy peanut butter and just enough honey to make every square taste indulgent. Then comes the crowning glory: a glossy layer of dark chocolate that cracks ever so slightly when you bite in. It’s the kind of snack that silences a room — in the best possible way.
They’re also endlessly practical. No oven means no heating up the kitchen in summer and no waiting around for baking times. Kids can help press the mixture into the pan (fair warning: little fingers will “quality test” the chocolate layer). They pack beautifully into lunchboxes, survive a morning in a gym bag, and keep for weeks in the freezer — which means future-you will be very grateful to past-you. Whether you need an after-school snack, a pre-workout bite, or a smarter dessert, these chocolate oat bars deliver every single time.
Why You’ll Love This Recipe
- No baking required — just mix, press, chill, and slice. The oven stays off.
- Wholesome pantry ingredients — oats, peanut butter, honey, and dark chocolate. Nothing you can’t pronounce.
- Ready in 15 minutes of hands-on time — the fridge does the rest of the work.
- Naturally satisfying — fiber from oats plus protein and healthy fats from peanut butter keep you full for hours.
- Freezer-friendly — make a double batch and stash half for later. They thaw in minutes.
- Kid-approved, adult-adored — sweet enough for little ones, wholesome enough for grown-up snack standards.
- Endlessly customizable — swap nut butters, add-ins, and toppings to make them your own.
Prep: 15 mins | Cook: 0 mins | Total: 2 hrs 15 mins (including chilling) | Servings: 12 bars
Ingredients
- 3 cups old-fashioned rolled oats — the hearty backbone of the bars; use certified gluten-free oats if needed
- 1 cup natural creamy peanut butter — well-stirred so the oil is fully incorporated; this binds everything together
- 1/2 cup honey — the natural sweetener and glue; pure maple syrup works for a vegan version
- 1/4 cup coconut oil, melted — helps the bars set firmly and adds richness
- 1 teaspoon pure vanilla extract — rounds out the chocolate-peanut flavor
- 1/2 teaspoon fine sea salt — sharpens all the flavors; don’t skip it
- 1 1/2 cups dark chocolate chips (about 9 oz) — choose 60–70% cacao for the best flavor
- 1 tablespoon coconut oil (for the chocolate layer) — gives the topping a beautiful sheen and a clean snap
- Flaky sea salt, for sprinkling (optional) — a pinch on top makes the chocolate sing
- 2 tablespoons ground flaxseed (optional) — stirs invisibly into the base for extra fiber and omega-3s
How to Make Chocolate Oat Bars
1. Prepare your pan. Line an 8×8-inch (20×20 cm) baking pan with parchment paper, leaving overhang on two sides so you can lift the bars out later. This little step makes slicing dramatically easier — trust me, you don’t want to pry sticky bars out of an unlined pan.
2. Warm the binders. In a medium saucepan over low heat, combine the peanut butter, honey, and 1/4 cup coconut oil. Stir gently and constantly until everything melts into a smooth, glossy mixture, about 2–3 minutes. Don’t let it boil — you’re just warming it enough to blend. Remove from the heat and stir in the vanilla extract and fine sea salt.
3. Mix the oat base. Pour the warm peanut butter mixture over the rolled oats in a large mixing bowl (add the ground flaxseed now if using). Fold with a sturdy spatula until every oat is evenly coated. The mixture should look moist and hold together when you squeeze a handful — if it seems dry and crumbly, add another tablespoon of peanut butter.
4. Press firmly into the pan. Scrape the oat mixture into your prepared pan. Here’s the most important technique in the whole recipe: press it down HARD. Use the bottom of a measuring cup or a flat glass to compact the mixture into a tight, even layer. Really lean into it. Firmly packed bars hold together when sliced; loosely packed bars crumble. This is the difference between clean squares and sad oat rubble.
5. Chill the base. Pop the pan into the refrigerator for 20–30 minutes while you make the chocolate topping. This firms up the base so the warm chocolate spreads cleanly on top instead of sinking in.
6. Make the chocolate layer. Combine the dark chocolate chips and 1 tablespoon coconut oil in a microwave-safe bowl. Microwave in 30-second bursts, stirring between each, until smooth and glossy — usually 60–90 seconds total. Alternatively, melt gently in a heatproof bowl set over simmering water. Pour the chocolate over the chilled oat base and spread it into an even layer with an offset spatula or the back of a spoon.
7. Finish and chill. If you like, sprinkle flaky sea salt over the chocolate while it’s still wet. Return the pan to the refrigerator and chill for at least 2 hours, or until the chocolate is completely firm to the touch.
8. Slice and serve. Lift the slab out using the parchment overhang and place it on a cutting board. For the cleanest cuts, run a large sharp knife under hot water, wipe it dry, and slice into 12 bars (a 4×3 grid), warming the knife between cuts. The chocolate will crack slightly — that’s normal and honestly part of the charm.
Pro Tips for Perfect Chocolate Oat Bars
- Stir your peanut butter well. Natural peanut butter separates, and if the oil sits on top while the solids stay dense at the bottom, your bars can turn out greasy or dry. Stir the whole jar thoroughly before measuring.
- Don’t use quick oats. Old-fashioned rolled oats give the bars their signature chew. Quick oats turn mushy and make the texture pasty.
- Press, press, press. I mentioned it in the steps, but it bears repeating: compact the base firmly. This is the number one factor in bars that slice cleanly.
- Chill in two stages. Chilling the base before adding chocolate keeps the layers distinct and pretty. Skipping this step gives you a marbled (still delicious, less photogenic) result.
- Cut at the right moment. Slice when the chocolate is firm but not ice-cold — about 2 hours of chilling is the sweet spot. Straight-from-the-freezer chocolate shatters; room-temperature chocolate smears.
- Taste your chocolate. Since the topping is such a prominent flavor, use chocolate you genuinely enjoy eating. If you love intense dark chocolate, go 70%. If you prefer mellow, 55–60% is lovely.
Delicious Variations to Try
- Almond butter version: Swap the peanut butter for creamy almond butter and top with sliced almonds for a more delicate, nutty bar.
- Protein boost: Add 1/4 cup of your favorite vanilla or chocolate protein powder to the dry oats. You may need an extra tablespoon of honey to keep the mixture binding.
- Trail mix bars: Fold 1/2 cup of chopped dried cranberries, raisins, or apricots plus 1/3 cup of chopped walnuts or pecans into the oat mixture.
- Double chocolate: Add 1/3 cup of cocoa powder to the oat base and reduce the oats slightly for an intensely chocolatey version.
- Nut-free for school: Use sunflower seed butter instead of peanut butter so the bars are lunchbox-safe for nut-free classrooms.
- Mint chocolate: Add 1/4 teaspoon of peppermint extract to the chocolate layer for a refreshing twist.
- Salted caramel drizzle: Drizzle the finished bars with a spoonful of warmed date caramel or store-bought caramel sauce before the final chill.
Storage & Make-Ahead Notes
These bars are a meal-prepper’s dream. Store them in an airtight container in the refrigerator for up to 2 weeks — layer parchment between stacked bars so the chocolate doesn’t stick. For longer storage, freeze for up to 3 months: wrap individual bars in parchment or plastic wrap, then tuck them into a freezer bag. They thaw at room temperature in about 15–20 minutes, or you can eat them straight from the freezer if you like an extra-firm, candy-bar-like bite. Avoid storing them at warm room temperature for more than a day or two, since the coconut oil softens and the bars can get melty. If you’re packing them for a lunchbox, toss in a small ice pack on hot days.
Frequently Asked Questions
Are chocolate oat bars actually healthy? They’re a genuinely wholesome treat. Rolled oats bring fiber and slow-digesting carbs, peanut butter adds protein and healthy fats, and dark chocolate contains antioxidants. They’re still a sweet snack — honey and chocolate mean real sugar — but compared to store-bought granola bars with corn syrup and preservatives, these are in a completely different league.
Why are my bars falling apart? Almost always: the base wasn’t pressed firmly enough, the peanut butter was too dry, or they weren’t chilled long enough. Press hard, make sure the mixture holds together when squeezed, and give them the full 2 hours in the fridge.
Can I make these vegan? Absolutely. Swap the honey for pure maple syrup and make sure your dark chocolate chips are dairy-free.
Can I use quick oats instead of rolled oats? You can in a pinch, but the texture suffers — quick oats make a softer, more porridge-like bar. Rolled oats are worth buying for this recipe.
A Sweet Ending
There are recipes you make once, and then there are recipes that quietly become part of your weekly rhythm. These chocolate oat bars are firmly in the second camp — the answer to the 3 p.m. slump, the lunchbox hero. Make a batch this week, and don’t be surprised when the pan is empty far sooner than you planned. Happy snacking!