The Weeknight Dinner That Tastes Like Takeout (Only Better)
Every home cook has that one dinner they make when the day has been long, the fridge is half-empty, and the family is circling the kitchen asking what is for dinner with increasing urgency. For me, that dinner is honey garlic chicken — and once you taste it, I have a feeling it will become yours too.
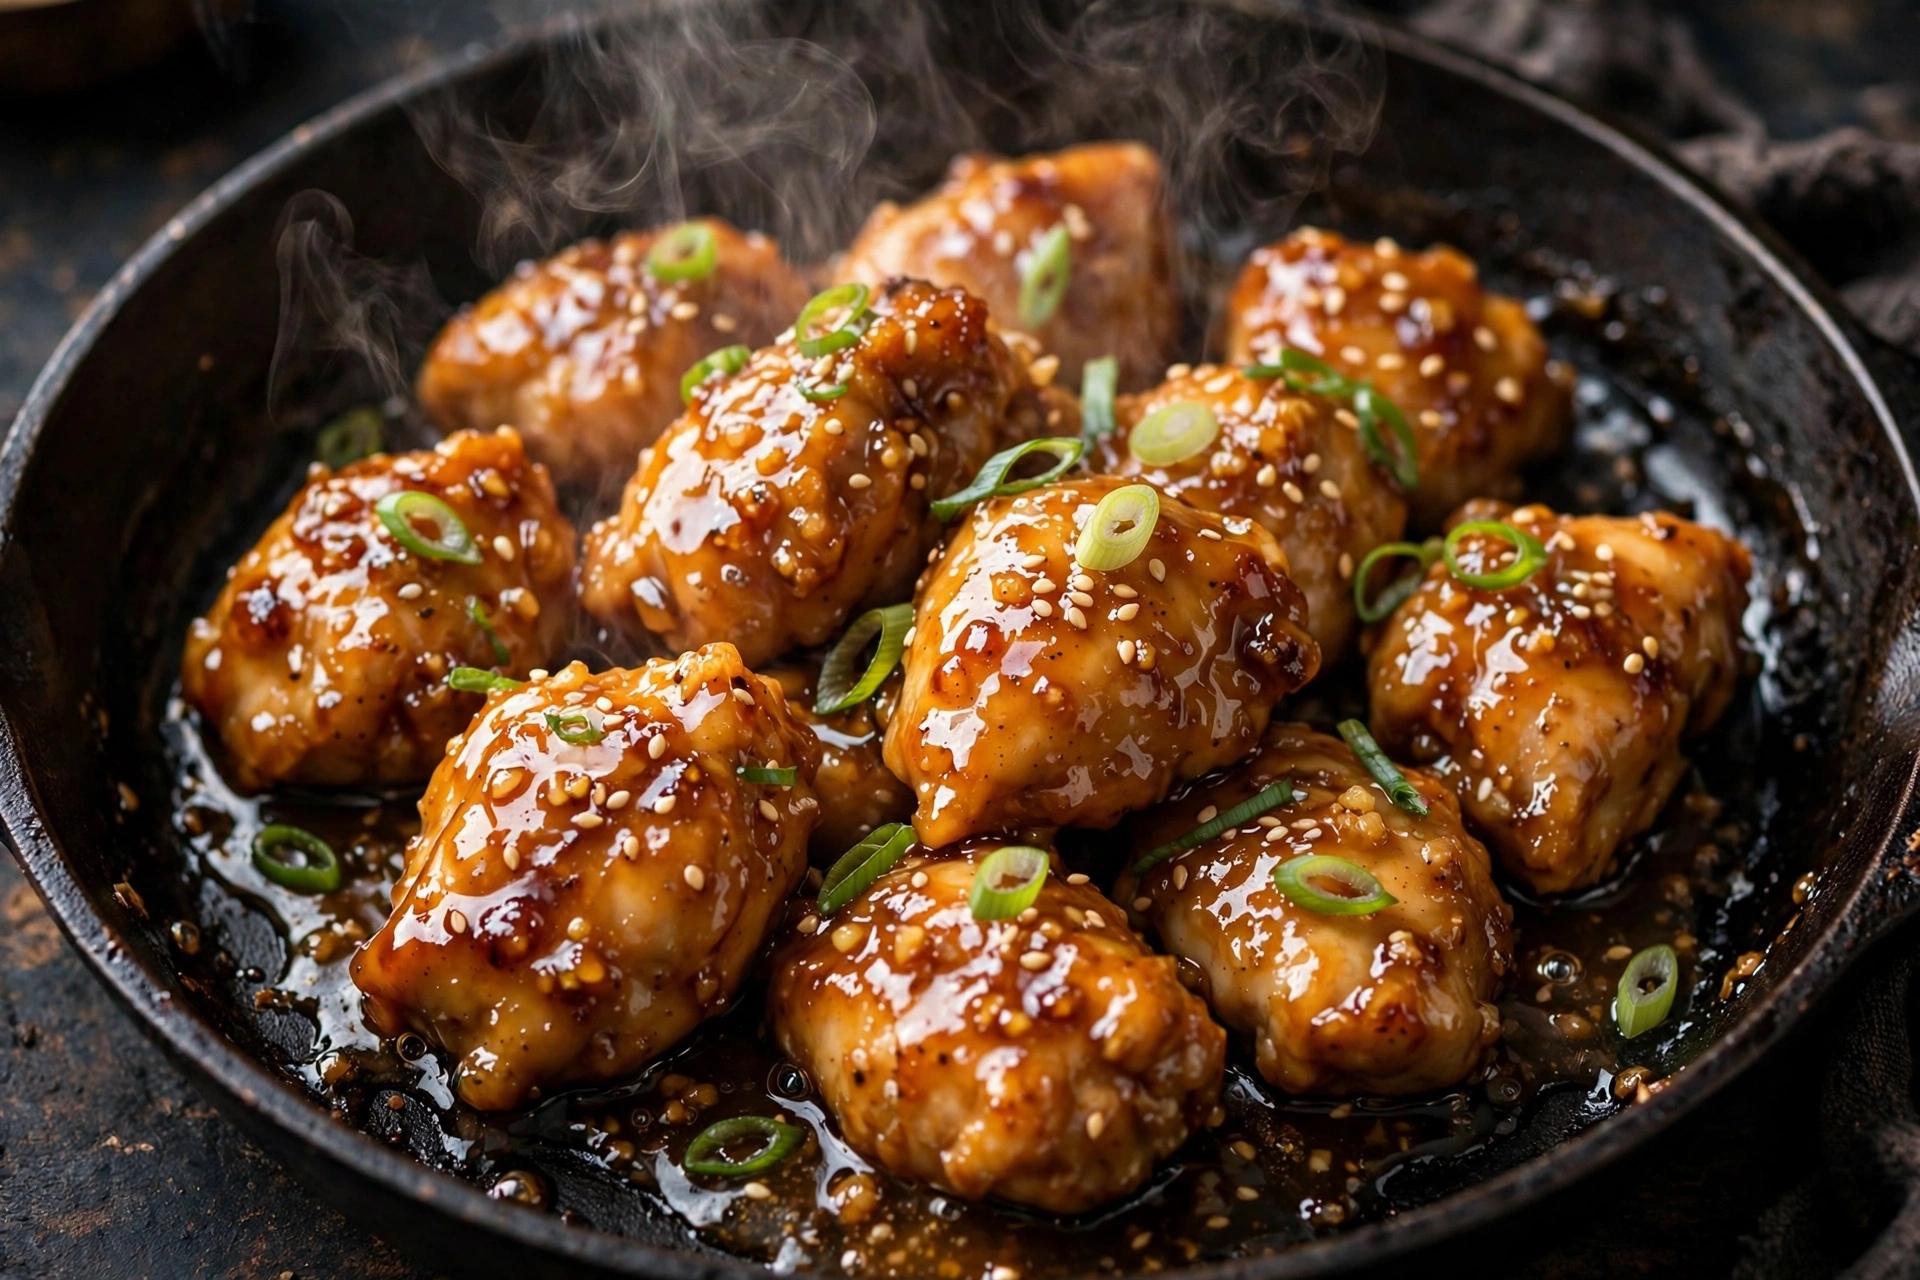
Here is the magic: tender, golden pieces of chicken wrapped in a glossy sauce that is the perfect balance of sweet honey, punchy garlic, and savory soy. It is sticky enough to cling to every bite, garlicky enough to keep things interesting, and just sweet enough to make everyone at the table go quiet for a minute — you know, that good kind of quiet where the only sound is forks moving fast. It tastes like your favorite takeout order, but you made it in one pan in 25 minutes, and you know exactly what went into it.
I have lightened up the classic version without sacrificing a drop of flavor. Instead of deep-frying, the chicken gets a whisper-thin cornstarch coating and a quick sear in a hot skillet, which creates those irresistible crispy edges that grab onto the sauce. The sauce itself uses less honey than restaurant versions but tastes sweeter because the garlic is bloomed properly and the soy sauce adds depth. A splash of rice vinegar at the end cuts through the richness and makes the whole dish taste bright instead of heavy.
Serve it over fluffy rice with the extra sauce spooned on top, add a pile of steamed broccoli or snap peas on the side, and dinner is done. It is the kind of meal that makes a regular Tuesday feel a little bit special — and is that not exactly what weeknight cooking should do?
Why You Will Love This Recipe
- 25 minutes, one pan — from fridge to table faster than delivery could ever arrive.
- Takeout flavor, homemade control — all the sticky-sweet satisfaction with less sugar and oil than restaurant versions.
- Simple pantry sauce — honey, soy sauce, garlic, and vinegar. That is the whole flavor engine.
- Crispy-edged chicken without deep frying — a light cornstarch coating and a hot sear do all the work.
- Incredibly versatile — serve over rice, tuck into lettuce wraps, pile onto noodles, or meal-prep it for the week.
- Kid and crowd approved — sweet-savory is a universal crowd-pleaser; dial the heat up or down as you like.
Prep: 10 mins | Cook: 15 mins | Total: 25 mins | Servings: 4
Ingredients
- 1 1/2 lbs (680g) boneless, skinless chicken breasts or thighs, cut into 1-inch pieces — thighs stay juicier; breasts are leaner. Your call.
- 1/3 cup cornstarch — creates the light, crispy coating that grips the sauce
- 1/2 teaspoon salt, plus more to taste
- 1/2 teaspoon black pepper
- 2 tablespoons neutral oil (such as avocado or vegetable oil) — for searing
- 6 cloves garlic, minced (about 2 tablespoons) — fresh garlic is non-negotiable here; it is the soul of the dish
- 1 teaspoon fresh ginger, grated (optional but lovely) — adds warmth and complexity
- 1/3 cup honey — the sweet backbone of the glaze
- 1/4 cup low-sodium soy sauce — savory depth; low-sodium keeps the salt in check
- 1 tablespoon rice vinegar — brightens the sauce and balances the sweetness
- 1 teaspoon sesame oil — a finishing touch of nutty aroma
- 1/4 teaspoon red pepper flakes (optional) — for a gentle background heat
- 2 green onions, thinly sliced — fresh, sharp garnish
- 1 teaspoon sesame seeds — for crunch and a pretty finish
How to Make Honey Garlic Chicken
1. Coat the chicken. Pat the chicken pieces dry with paper towels — this is the secret to a good sear, since moisture is the enemy of browning. Toss them in a large bowl with the cornstarch, salt, and black pepper until every piece is lightly and evenly dusted. Shake off any excess; you want a whisper of coating, not a thick batter.
2. Sear in batches. Heat the neutral oil in a large skillet or wok over medium-high heat until it shimmers. Add half the chicken in a single layer with space between the pieces — crowding steams the chicken instead of searing it. Cook undisturbed for 2 to 3 minutes until golden on the bottom, then flip and cook 2 to 3 minutes more until cooked through and crisp at the edges. Transfer to a plate and repeat with the remaining chicken. Do not wipe out the pan — those browned bits are flavor gold.
3. Bloom the aromatics. Reduce the heat to medium. Add the minced garlic (and ginger, if using) directly to the pan with a tiny drizzle of oil if the pan looks dry. Stir constantly for 30 to 45 seconds until fragrant. This is the most important 45 seconds of the recipe: you want the garlic just golden and intensely aromatic, not brown or bitter. If it starts to darken, pull the pan off the heat for a moment.
4. Build the sauce. Pour in the honey, soy sauce, and rice vinegar, stirring to dissolve the honey and scrape up all those delicious browned bits from the bottom of the pan. Add the red pepper flakes if you like heat. Let the sauce bubble gently for 1 to 2 minutes until it thickens slightly and turns glossy — it should coat the back of a spoon.
5. Glaze the chicken. Return the seared chicken (and any juices from the plate) to the pan. Toss everything together for 1 to 2 minutes until each piece is lacquered in the sticky glaze. The sauce will cling beautifully to the cornstarch-crusted edges. Drizzle over the sesame oil and toss once more.
6. Garnish and serve. Shower with sliced green onions and sesame seeds. Serve immediately over steamed jasmine rice, with plenty of that glorious sauce spooned over the top.
Pro Tips for the Best Honey Garlic Chicken
- Dry chicken means crispy chicken. Patting the pieces dry before coating is the single biggest factor in getting that golden crust. Wet chicken steams; dry chicken sears.
- Do not crowd the pan. Searing in two batches takes a few extra minutes but delivers dramatically better browning. Pile all the chicken in at once and you will get pale, steamy pieces that never crisp.
- Watch the garlic closely. Minced garlic goes from fragrant to burnt in seconds. Keep it moving, keep the heat at medium, and have your sauce ingredients measured and ready to pour in the moment the garlic turns golden.
- Taste and adjust the sauce. Honey varies in sweetness and soy sauces vary in saltiness. Taste the sauce before adding the chicken back — want it sweeter? A drizzle more honey. Saltier? A splash more soy. Brighter? A touch more vinegar. You are the chef.
- Thighs forgive, breasts reward precision. Chicken thighs stay juicy even if slightly overcooked, making them ideal for beginners. Breasts work beautifully too — just pull them the moment they are cooked through to keep them tender.
- Serve it saucy. This dish is all about the glaze, so do not skimp on spooning extra sauce over the rice. If you want even more sauce, scale the sauce ingredients by 1.5x — it reheats wonderfully.
Tasty Variations
- Spicy honey garlic: Double the red pepper flakes and add a squirt of sriracha to the sauce for a sweet-heat version with real kick.
- Air fryer method: Coat and air-fry the chicken at 400 F (200 C) for 10 to 12 minutes, shaking halfway, then toss with the sauce made separately in a saucepan. Less oil, same sticky glory.
- Honey garlic salmon: The exact same sauce is phenomenal on salmon fillets — sear skin-side down until crisp, flip, and glaze for the final 2 minutes.
- Meal-prep bowls: Divide over brown rice or quinoa with roasted broccoli, edamame, and shredded carrots. The sauce doubles as a dressing for the whole bowl.
- Lettuce wraps: Spoon the glazed chicken into crisp butter lettuce cups with shredded cabbage and extra green onions for a lighter, low-carb dinner.
- Citrus twist: Add 2 tablespoons of fresh orange juice and a teaspoon of zest to the sauce for a bright, citrusy lift that pairs beautifully with the garlic.
Storage and Make-Ahead Notes
Store leftovers in an airtight container in the refrigerator for up to 4 days. The sauce thickens as it sits — revive it by reheating gently in a skillet over medium-low heat with a tablespoon of water, which loosens the glaze back to its glossy self. Microwaving works too, but the stovetop gives you better texture on the chicken.
This recipe is a meal-prep champion: cook a batch on Sunday, portion it over rice with steamed vegetables, and you have lunches for days. It also freezes well for up to 2 months — freeze the glazed chicken (without rice) in a freezer bag, thaw overnight in the fridge, and reheat in a skillet. The sauce may need that splash-of-water trick after freezing, and the coating will be a touch less crisp, but the flavor stays fantastic.
You can also prep components ahead: cut the chicken and store it covered in the fridge for up to a day, and whisk the sauce ingredients together in a jar (minus the garlic) up to 3 days ahead. Then dinner becomes a true 15-minute affair.
Frequently Asked Questions
Can I use chicken thighs instead of breasts? Yes — and many cooks prefer them here. Boneless, skinless thighs are more forgiving, stay juicier, and their richer flavor stands up beautifully to the bold sauce. Use the same weight, cut into 1-inch pieces, and cook exactly the same way.
My sauce is too thin or too thick. How do I fix it? If too thin, simmer 1 to 2 minutes longer before adding the chicken back. If too thick, whisk in a tablespoon of water at a time. The sauce thickens as it cools, so pull it off the heat when slightly thinner than you want.
Is there a substitute for honey? Pure maple syrup works well. Brown sugar (about 1/4 cup) is another option, though you lose honey’s floral notes.
Can I make this gluten-free? Easily — cornstarch is naturally gluten-free; just swap soy sauce for tamari or certified gluten-free soy sauce.
Dinner Is Served
Honey garlic chicken is proof that you do not need complicated techniques or exotic ingredients to make dinner exciting — just a hot pan, a handful of pantry staples, and 25 minutes. It is sweet, savory, sticky, and deeply satisfying, the kind of meal that earns a permanent spot in the rotation after a single try. So tonight, skip the takeout menu. Your skillet has this covered.