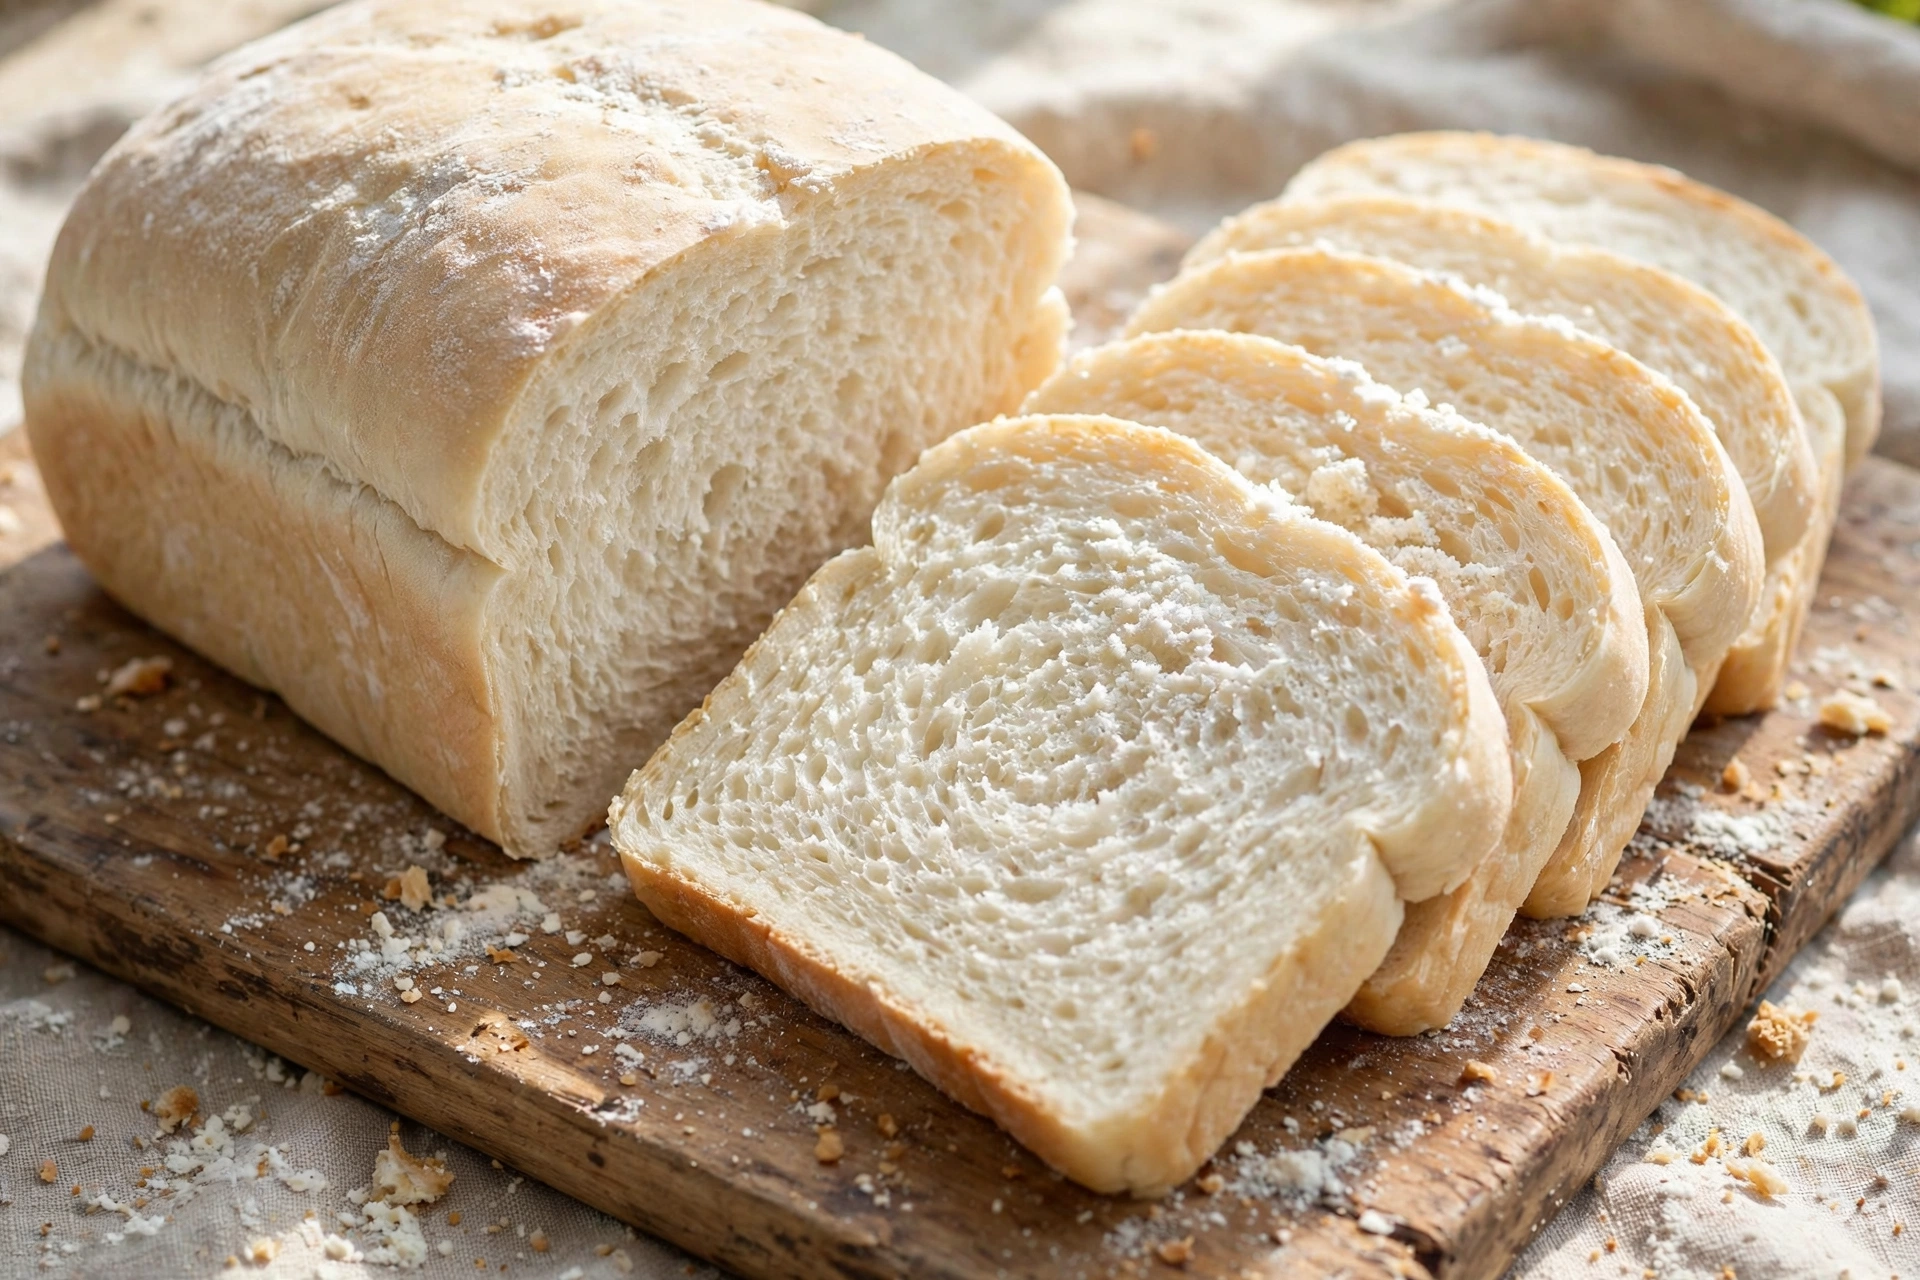
Finally, a Gluten-Free White Bread Worth Craving
Let us be honest about gluten-free bread: most of us have a graveyard of memories involving loaves that crumbled like sandcastles, tasted like cardboard, or cost a small fortune at the store only to go stale by Tuesday. If you have ever tried to make a sandwich with store-bought gluten-free bread and watched it disintegrate in your hands, you know exactly the heartbreak I am talking about.
This gluten-free white bread is here to end that heartbreak. It bakes up tall and golden with a soft, springy crumb, a tender crust, and — most miraculously — structural integrity. You can slice it thin. You can toast it. You can press it into a panini without it shattering into a dozen sad pieces. It tastes like real bread because, with the right technique, it basically is real bread — just built on a thoughtful blend of gluten-free flours instead of wheat.
The secret is not one magic ingredient but a small team of them working together. A good gluten-free flour blend provides the starches and proteins; psyllium husk powder gives the dough the stretch and elasticity that gluten normally provides; eggs add richness and structure; and a touch of apple cider vinegar tenderizes the crumb. The dough will look more like a thick batter than the firm dough you might remember from wheat baking — that is completely normal, and I will walk you through exactly what to expect at every stage.
Yes, it takes a little patience: one rise, one bake, and the hardest part of all — waiting for it to cool before slicing. But the reward is a loaf that makes you forget it is gluten-free at all. Sandwiches are back on the menu, my friend.
Why You Will Love This Recipe
- Soft, sliceable, sandwich-ready — a tender crumb that holds together for sandwiches, toast, and French toast.
- No dense brick texture — psyllium husk creates elasticity for a proper rise and an airy interior.
- Simple pantry method — one bowl, one loaf pan, no bread machine or special equipment needed.
- Freezer-friendly — slice the whole loaf and freeze it; pull out slices as needed.
- Better than store-bought — fresher flavor, softer texture, and a fraction of the price per loaf.
- Customizable — dairy-free and add-in variations included below.
Prep: 20 mins | Rising: 1 hr | Cook: 40 mins | Total: 2 hrs | Servings: 12 slices
Ingredients
- 3 cups (420g) gluten-free all-purpose flour blend — use a blend that contains xanthan gum, or add 1 teaspoon separately; weigh it for accuracy
- 2 tablespoons psyllium husk powder — the elasticity hero; gives the dough stretch so it rises tall instead of spreading
- 2 1/4 teaspoons instant yeast (1 packet) — makes the loaf rise; instant yeast needs no proofing but we will wake it up anyway
- 2 tablespoons sugar — feeds the yeast and adds a hint of sweetness; honey works too
- 1 1/2 teaspoons fine salt — essential for flavor; keep it away from direct contact with yeast until mixing
- 1 1/4 cups warm milk (about 110 F / 43 C) — warm to the touch, not hot; dairy-free milk works fine
- 2 large eggs, at room temperature — add structure and richness
- 1/4 cup unsalted butter, melted (or neutral oil for dairy-free) — for tenderness and a soft crust
- 1 tablespoon apple cider vinegar — tenderizes the crumb and helps the rise
- Oil or cooking spray, for the pan
How to Make Gluten-Free White Bread
1. Wake up the yeast. In a small bowl, stir the warm milk, sugar, and yeast together. Let it sit for 5 to 10 minutes until foamy and fragrant. If nothing happens, your milk was too hot (which kills yeast) or too cold (which leaves it sleepy) — or the yeast is old. Start over with fresh yeast and properly warm milk; this step confirms your yeast is alive before you commit the rest of the ingredients.
2. Whisk the dry ingredients. In a large mixing bowl, whisk together the gluten-free flour blend, psyllium husk powder, and salt until completely combined. Break up any lumps in the psyllium — it clumps easily, and clumps create gummy spots in the finished loaf.
3. Combine wet ingredients. In a separate bowl or large measuring jug, whisk the eggs, melted butter, and apple cider vinegar together until smooth. Pour in the foamy yeast mixture and stir to combine.
4. Mix the dough. Pour the wet mixture into the dry ingredients. Stir with a sturdy wooden spoon or spatula until a thick, sticky dough forms — it will look like a very thick batter or a soft cookie dough rather than a firm bread dough. This is correct for gluten-free bread. Do not add extra flour trying to make it firm; that is the fastest route to a dense loaf. Beat the dough for about 2 minutes to fully hydrate the psyllium and develop structure.
5. Shape into the pan. Grease a 9×5-inch loaf pan well. Scrape the dough into the pan. Wet your hands or a spatula with water (this prevents sticking) and smooth the top into an even dome, tucking the dough neatly into the corners. A smooth, even surface now means an evenly baked loaf later.
6. Let it rise. Cover the pan loosely with a clean kitchen towel or plastic wrap. Let it rise in a warm, draft-free spot for 45 to 60 minutes, until the dough has risen to about 1 inch above the rim of the pan. Do not overproof — gluten-free dough has less structural strength than wheat dough, and if it rises too far it can collapse in the oven. When in doubt, slightly underproofed is safer than overproofed.
7. Bake. About 15 minutes before the rise is done, preheat the oven to 375 F (190 C). Bake the loaf for 35 to 40 minutes, until deeply golden on top. For a guaranteed-done loaf, check the internal temperature with an instant-read thermometer — it should read 205 to 210 F (96 to 99 C) in the center. If the top browns too quickly, tent loosely with foil for the last 10 minutes.
8. Cool completely — the hardest step. Turn the loaf out onto a wire rack immediately and let it cool for at least 2 hours before slicing. I know. It smells incredible and you want toast right now. But gluten-free bread finishes setting as it cools, and slicing too early gives you a gummy, compressed crumb. Use a serrated bread knife and a gentle sawing motion once fully cool.
Pro Tips for Perfect Gluten-Free White Bread
- Weigh your flour. A kitchen scale is the best twenty dollars a gluten-free baker can spend. Scooping flour with a cup can pack in 20 percent extra, which makes the loaf dense and dry. 420 grams is the target here.
- Check your flour blend. Not all gluten-free blends behave the same. Use one formulated for yeast baking (usually rice-flour based with starches and xanthan gum). Single-flour swaps like straight almond or coconut flour will not work in this recipe.
- Psyllium husk powder, not whole husks. The powder hydrates quickly and evenly. Whole husks leave visible flecks and a coarser texture. If you only have whole husks, grind them finely in a spice grinder first.
- Room-temperature eggs matter. Cold eggs can cool the dough and slow the yeast. Set them in warm water for 10 minutes if you forgot to take them out.
- Tent with foil. Gluten-free loaves brown faster than wheat loaves because of the higher starch content. A loose foil tent in the last stretch of baking prevents a dark, bitter crust.
- The thermometer does not lie. Visual cues are tricky with gluten-free bread — a golden top can hide a gummy center. An instant-read thermometer reading 205 to 210 F is the only reliable doneness test.
Tasty Variations
- Dairy-free: Swap the milk for unsweetened almond, oat, or soy milk and use neutral oil or melted coconut oil instead of butter. The texture stays soft and tender.
- Seeded sandwich loaf: Fold 3 tablespoons each of sunflower seeds and pumpkin seeds into the dough, and sprinkle more on top before baking for crunch and extra nutrition.
- Honey oat top: Brush the risen loaf with a little honey and sprinkle gluten-free rolled oats over the top before baking for a bakery-style finish.
- Herb bread: Add 1 tablespoon of chopped fresh rosemary or 2 teaspoons of dried Italian herbs to the dry ingredients for a loaf that is incredible as garlic toast.
- Cinnamon swirl (sweet version): Increase the sugar to 1/3 cup, and after shaping, swirl in a mixture of 2 tablespoons cinnamon and 3 tablespoons brown sugar for a breakfast-worthy loaf.
Storage and Make-Ahead Notes
This bread keeps at room temperature for 3 days in a bread bag or wrapped tightly. Do not refrigerate the loaf; the cold speeds up staling. For longer keeping, freeze it: slice the entire cooled loaf, layer parchment between the slices, and freeze in a zip-top bag for up to 3 months. Slices go straight from freezer to toaster beautifully. The dough itself is not a great make-ahead candidate, but you can measure the dry ingredients into a jar ahead of time so bake day is nearly effortless.
Frequently Asked Questions
Why did my gluten-free bread turn out dense and gummy? The three usual suspects: too much flour (weigh it!), underbaking (use the thermometer — 205 to 210 F), or slicing while warm. Also check that your yeast was active and the loaf was not overproofed.
Can I make this without psyllium husk? Psyllium does heavy lifting in this recipe — it is what gives the loaf its rise and sliceable structure. A partial substitute is 1 tablespoon ground flaxseed mixed with 3 tablespoons water, but expect a denser loaf.
Can I use almond flour or coconut flour instead of the blend? No — this recipe is engineered around a balanced gluten-free all-purpose blend with starches. Either swap would require a completely different recipe.
Why does gluten-free dough look like batter instead of dough? Because there is no gluten network! It is supposed to be soft, sticky, and thick-batter-like. Resist every urge to add more flour.
Fresh Bread, Zero Compromise
There is something deeply satisfying about pulling a golden loaf from your own oven — the crackle as it cools, that first perfect slice, a sandwich that actually holds together. This gluten-free white bread proves that dietary restrictions do not have to mean settling for less. Bake it once, and I promise: the store-bought loaf in your freezer will start gathering dust.